No joke! Not only are they both expensive, but I am seeing a pattern similarity! ;) Here it goes:
You have that 'fun' leisurely part of just looking at what is available (seeing cute babies), then the stressful part of finding the perfect one, out bidding other buyers, and getting approved for a mortgage (morning sickness, getting fat). Next comes the signing of paperwork and renovations (no sleep, lots of work), and finally the forgetting of all the awfulness and wanting to do it all over again because you like the end result.
Call me crazy but today I started looking at real estate and our renovations aren't even complete. I need an intervention. Someone please intervene!
Showing posts with label project. Show all posts
Showing posts with label project. Show all posts
Thursday, April 26, 2012

Friday, April 20, 2012
Nightmares
of painting... endless walls. Seriously, how can there be so MANY walls in a 2 bd/2bath duplex?? I am pretty sure it might take me a year to finish painting this place. Of course, it would help if I would choose one color for each room instead of changing my mind after the first coat.
Saturday, February 25, 2012
Life, Love, and Laughter
We closed on the duplex yesterday! Although we had a busy weekend and hadn't planned on getting started working on the repairs quite yet, we were too excited to wait. So while Andrew got busy tearing out the bath surround I started taping the trim so we are ready to go for painting. Our boys (ages 2 and 4) were so excited to have a new place to play that they were running around playing tag and 'step on the dot' (their version of 'don't step on the crack'). It was adorable. My son suggested we dance so we turned the radio up and enjoyed the moment. It's the little things that make life fun :)
Friday, January 27, 2012
House #1? House #2? House #3!
My husband and I felt like we should have been on an episode of House Hunters. We have been looking at so many types of properties and in so many locations that it kind of felt like a toss of a dice where we would land. We didn't pick the cute house with a yard near the foothills that was completely finished, we didn't pick the fixer upper with the shop near the university, but we DID pick the small semi fixer upper duplex with the great location! We are now the proud owners of an investment property. For the next 3 years we will be working on and living in one unit while we rent out the other. At that time we will purchase a house for ourselves and continue to rent out both units in the duplex for the income potential. Has anyone done this before? Any recommendations? We were urged to read Landlording which looks like an interesting read. I will keep you posted on our experiences as it goes.
Saturday, January 21, 2012
Project: Couch
 :Before
 :After
My husband is awesome. We bought a sewing machine so we could sew duvet covers for our boys.... fast forward 6 months, I still don't know how to turn the thing on yet he has already sewn a soft top for his bronco and re-hemmed pants. This is how our relationship works: I pick out the project and get the materials and he completes them for me. It is great! Anyway, several months ago I decided it was time to sew a slip cover for our sad looking leather couch. Last week I still hadn't done anything so he took it a step further and made new cushions for the couch.
Here is what he did:
The cushions on the couch were not removable, they were seamed in with the seams of the couch. His first step was to cut the leather (cutting about 3" above the seam so he did not ruin the look of the front of the couch) then use an upholstery staple gun to secure the leather back onto the frame.
After preshrinking our material (corduroy) he cut out the sizes he needed for the top, bottom, and sides then pinned it together over the foam/cushion (we used what was already there; it was covered in leather previously so nothing had penetrated into the foam) to make sure he was pinning it to size. Make sure you lay the fabric down so the inside of the fabric is facing you as you will turn it 'inside out' after you sew it so your seam is on the inside.


Then, sew.


Wednesday, November 2, 2011
Project: Steamer Trunk
We found this beauty about a year ago:


My husband decided he wanted to tackle this project, so I let him make all executive decisions (I desperately wanted to restore the canvas, but he had other ideas). After LOTS of sanding, extensive buffing of the metal, and coats of pure uncut tung oil mixed with mineral spirits in a 1:1 ratio with a VERY small amount of solvent based stain (he used golden oak); here is the finished result:


I LOVE it!
The finish he used coats the ENTIRE trunk (leather, metal, wood, everything).
linking to Miss Mustardseed; one of my all time fav eye candy blogs ;)


My husband decided he wanted to tackle this project, so I let him make all executive decisions (I desperately wanted to restore the canvas, but he had other ideas). After LOTS of sanding, extensive buffing of the metal, and coats of pure uncut tung oil mixed with mineral spirits in a 1:1 ratio with a VERY small amount of solvent based stain (he used golden oak); here is the finished result:


I LOVE it!
The finish he used coats the ENTIRE trunk (leather, metal, wood, everything).
linking to Miss Mustardseed; one of my all time fav eye candy blogs ;)
Tuesday, September 13, 2011
Project: Playroom
My boys are 3 and 2... it's about time they had a more 'put together' playroom! My budget was $65, and I stayed under it! I have worked on it for the past month, and here are my results:
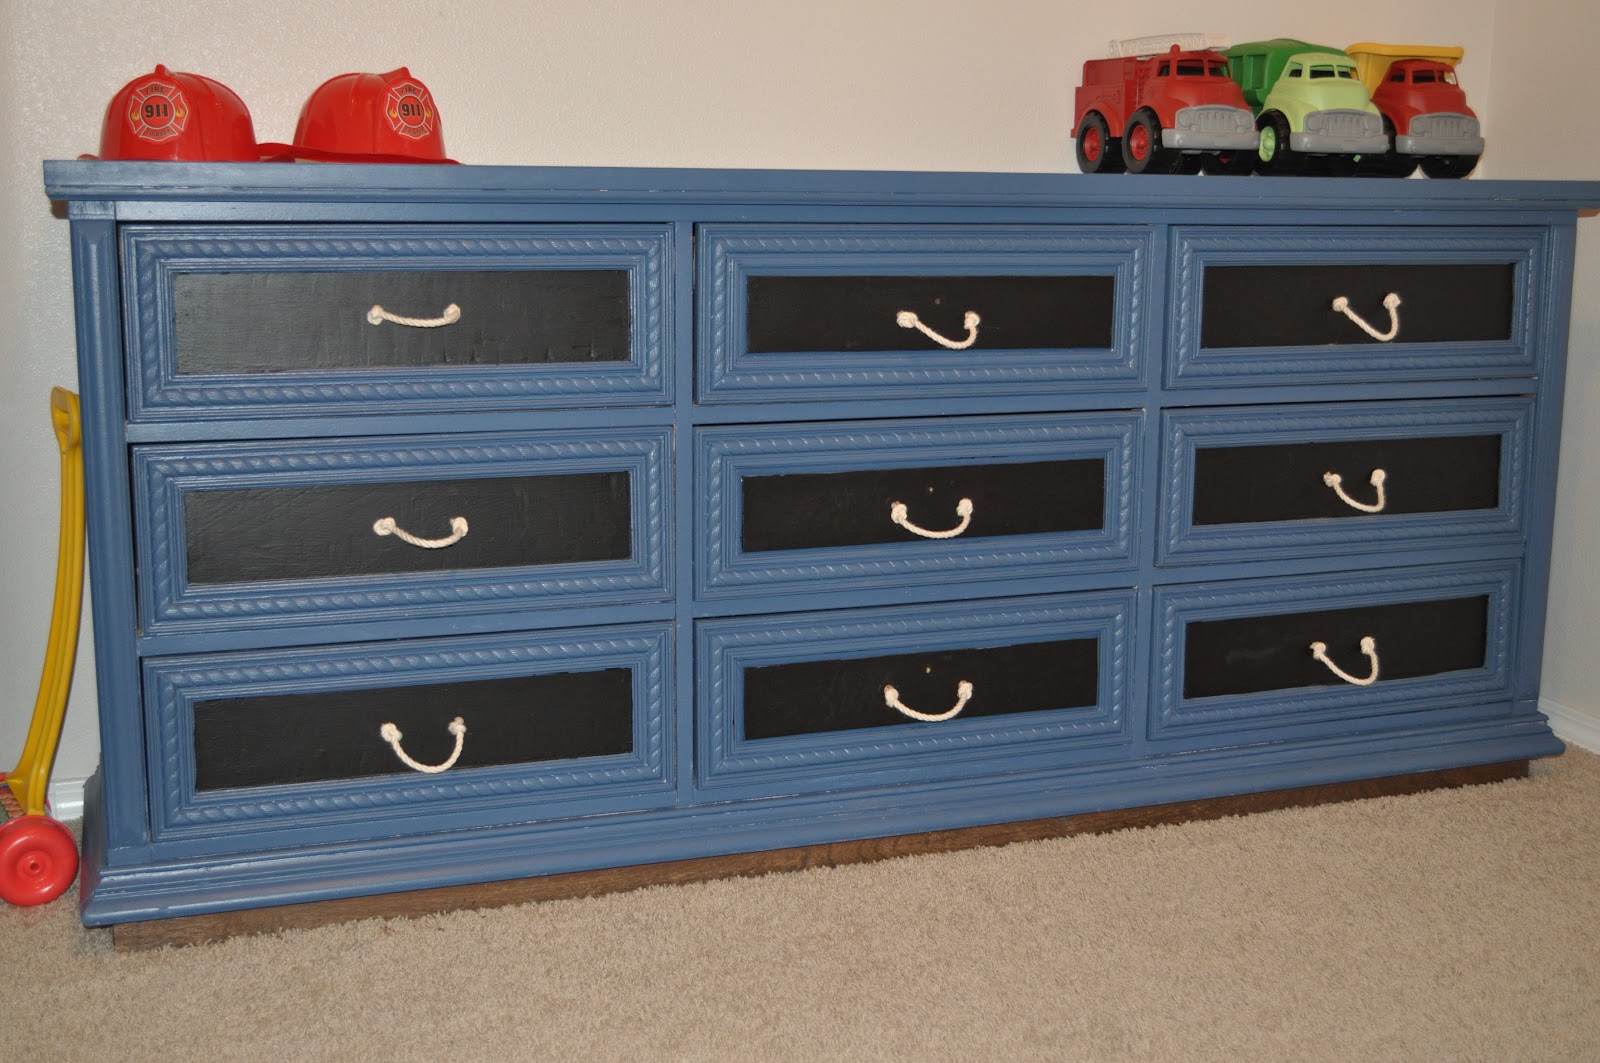
Found this dresser for FREE on Craigslist... after paint and supplies I ended up spending $50 refinishing it-


Found this dresser for FREE on Craigslist... after paint and supplies I ended up spending $50 refinishing it-
BEFORE:


AFTER:

This was my first painting project (my husband usually does it for me ;) ) I am proud of it!
I LOVE how unlike the shelves and baskets I have tried previously, this does not look cluttered... and every type of toy has it's own drawer!
I LOVE how unlike the shelves and baskets I have tried previously, this does not look cluttered... and every type of toy has it's own drawer!
I used the 'road' part of their old train table to make their chalkboard. Just added chalkboard paint and WA-LA (my youngest was too excited to draw to let me take a picture....):

I got the bookshelves for free off of Craigslist as well (LOVE Craigslist!) Just spray painted them black and they were as good as new!

I 'decorated' using their current toys to save $$ but also so I didn't have MORE 'stuff' in the room.
It is still a work in progress, but it is coming along nicely!
Tuesday, June 14, 2011
On my husband's 'to-do' list:
are these beautiful projects:
 (http://theletteredcottage.net/painting-dressers-and-planning-a-pocket)
 (http://www.housetweaking.com/2011/02/04/pardon-me-your-barn-door-is-open/)
Seriously? How could you NOT love them? Thank goodness my WONDERFUL husband likes to do my projects for me ;)
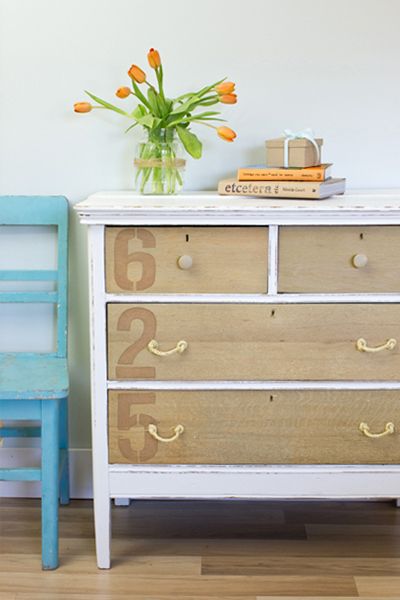
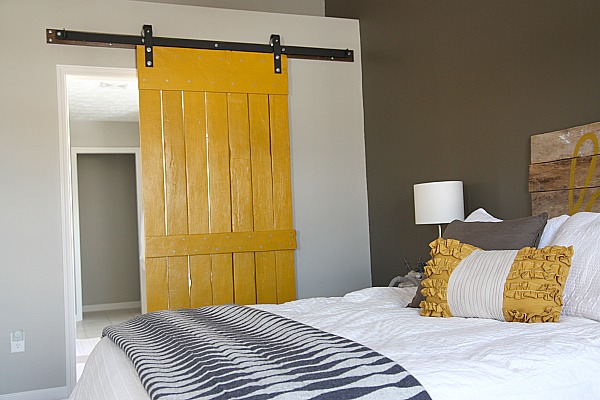
Seriously? How could you NOT love them? Thank goodness my WONDERFUL husband likes to do my projects for me ;)
Subscribe to:
Posts (Atom)